
DSM Online Support
Support Master
Welcome to DSM Online
How can I help you today
How can we assist you? please let us know the support you need from DSM Online
Introduction:
In the realm of DIY robotics and automation, obstacle avoidance is a fundamental skill. Whether you're building a miniature autonomous vehicle, a line-following robot, or simply a smart home device, the ability to detect and react to obstacles is crucial. The 5-sensor IR array, coupled with an Arduino-compatible microcontroller, provides a robust and cost-effective solution for this purpose. This blog post will guide you through the intricacies of interfacing and programming a 5-sensor IR array with your Arduino, empowering you to create intelligent and responsive robotic systems.
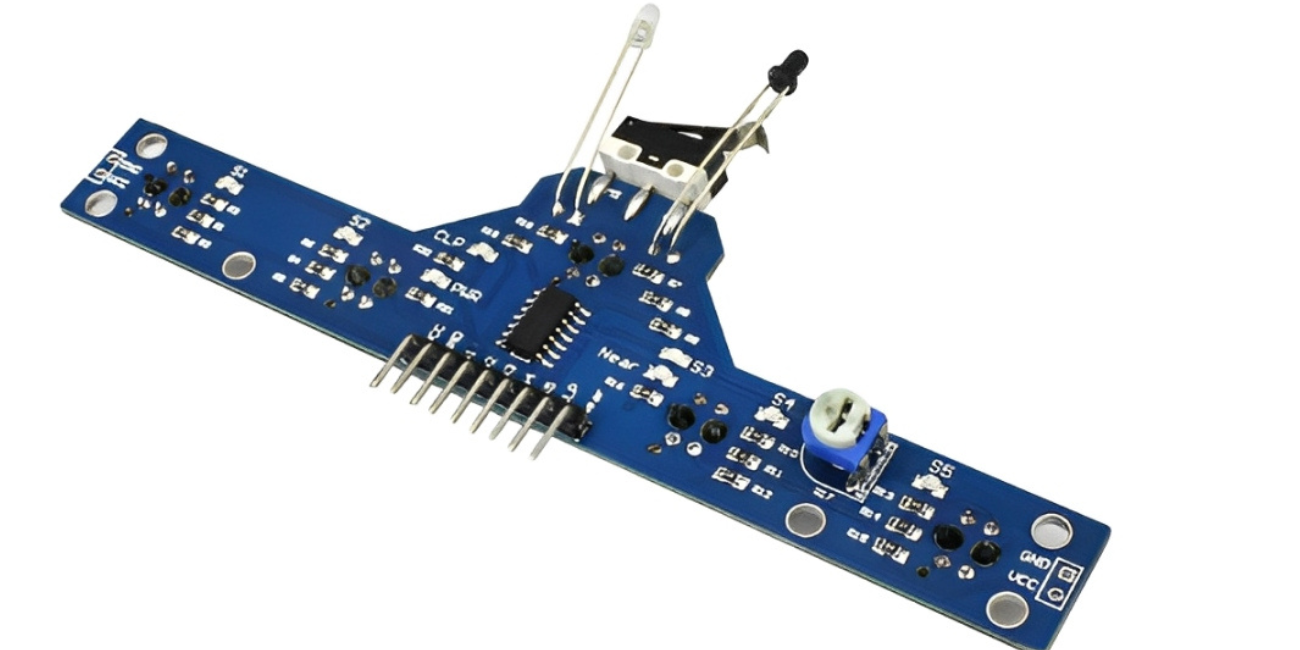
Understanding the 5-Sensor IR Array:
The 5-sensor IR array typically comprises five pairs of infrared (IR) LEDs and phototransistors arranged linearly. Each IR LED emits an infrared beam, and the corresponding phototransistor detects the reflected light. When an object is close to the sensor, the reflected IR light triggers the phototransistor, producing a change in voltage.
These sensors are often used in two main modes:
The 5-sensor configuration provides a wider field of view and more granular data compared to single or dual IR sensors. This allows for more precise obstacle detection and smoother navigation.
Interfacing with Arduino:
Connecting the 5-sensor IR array to your Arduino is straightforward. Typically, the array has six pins:
Advanced Applications:
By analyzing the sensor values, you can implement various functionalities:
Tips and Considerations:
Conclusion:
The 5-sensor IR array, when combined with the versatility of Arduino, opens up a world of possibilities for creating intelligent and autonomous robotic systems. By understanding the sensor's operation and implementing appropriate code, you can build robots that navigate their environment with precision and efficiency. This technology is a cornerstone in many DIY robotics projects, and by mastering it, you'll be well on your way to creating your own innovative creations.

